
Welcome back to my blog! For today’s post I thought I would share with you a step-by-step guide for a DIY I recently did. So if you want to know how I turned a normal t-shirt into a cut out tee (that is bang on trend at the minute) then please keep on reading!
What you will need: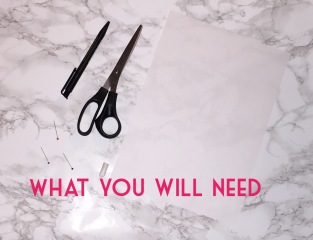
- A T-shirt
- Sharp/dress maker scissors.
- Chalk.
- Pins.
- A friend – you might need an extra pair of hands for some stages!
- A4 piece of paper.
- Step one in this DIY is to research examples of cut out tops; I found two variations ( pictured below) to base my t-shirt on/ that I wanted to combine. https://www.missguided.co.uk/black-extreme-v-graphic-choker-t-shirt http://www.topshop.com/en/tsuk/product/deep-v-neck-boyfriend-tunic-6307580?bi=0&ps=20&Ntt=deep v neck

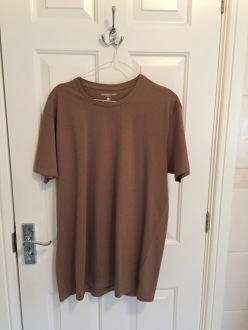
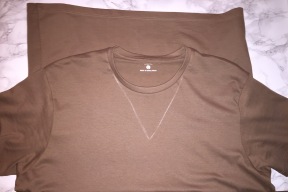
- Step two is to buy a t-shirt; I used a men’s t-shirt ( size large a I wanted to wear it as a dress/oversized tee) from Primark which was only £3, and they had lots of colours to pick from!
- Step three is to use a piece of A4 paper and place it on the t-shirt and, once you have decided how big/ deep you want the cut out to be, draw a triangle on the paper. Don’t worry if the lines aren’t straight, as we are going to sharpen the lines up with scissors.
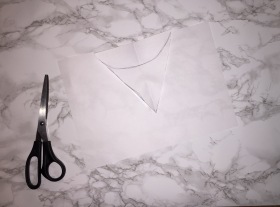
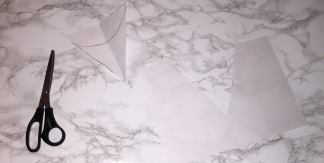
- Step four- Use a pair of scissors ( I used dress makers scissors to ensure that the cut was as clean as it could be) to cut across the lines so you end up with a triangle that will represent the cut out.
- Step five- put the t-shirt on and, ask a friend/ parent to help pin the triangle shaped piece of paper onto the top, then carefully take the top off.
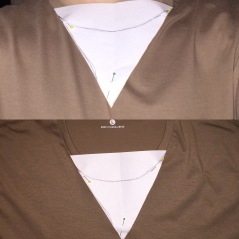
- Step six is to take a piece of chalk and draw around the triangle on to the top. This is going to at as a guide when we cut the t-shirt.
- Step 7- Remove the pins and the piece of paper from the top ( you may want to keep the triangle for reference if you try the DIY out again!)
- Step 8 is to carefully use the scissors to cut out the triangle shape we drew onto the top. Take your time at this stage making sure the cut out is as even, and the point of the triangle is centralised.
- Step 9- try the t-shirt on and make sure the cut out is as deep/ wide as you want it. You can then make any corrections needed until you are happy with how it looks.
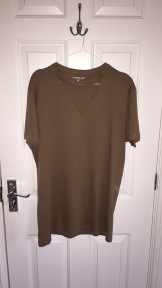
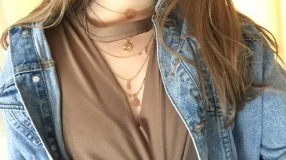
- Step 10 is simple… rock your new DIY cut out t-shirt!

I hope you enjoyed this DIY blog post! Let me know if you try it out!
I recently started an Instagram page for my blog, and have featured pictures from this post on there, so it would be great if you could check it out! Find me @ ‘chloefaceandfashion’ and leave a love heart emoji to let me know you have come from my blog, and I will be sure to follow you back! More posts coming very soon.
Thanks for reading,
Chloe x
